How to Safely and Effectively Remove Mold from Your Home
Welcome to my blog post about how to safely and effectively remove mold from your home. Mold can be a serious problem that affects both the structure of your house and the health of its occupants. In this article, I will provide you with everything you need to know about getting rid of mold yourself.
Introduction to Mold and Its Dangers
Mold is a type of fungus that grows in damp or wet areas. It thrives on moisture and feeds on organic materials such as wood, paper, and fabrics. While some types of mold are harmless, others can cause serious health problems. Exposure to mold can lead to respiratory issues, allergies, asthma attacks, and even infections. That’s why it’s crucial to identify any signs of mold growth in your home and take action immediately.

Identifying the Source of Mold Growth in Your Home
The first step in removing mold is identifying where it’s coming from. Look for visible signs of mold growth, such as discolored patches on walls or ceilings, musty odors, or water stains. These could indicate that there is a leak or other source of moisture that needs to be addressed. You may also want to check areas behind furniture or appliances, which can often become damp and create ideal conditions for mold growth.
Safety Precautions When Removing Mold
Removing mold can be dangerous if not done properly. Always wear protective gear when working with mold-affected areas, including gloves, masks, and eye protection. Avoid touching or disturbing the mold too much, as this can release spores into the air and spread the contamination. If possible, work in well-ventilated areas and use fans to circulate fresh air throughout the space.
Step-by-Step Guide for Removing Mold Yourself
Once you have identified the source of the mold and taken appropriate safety precautions, it’s time to start the removal process. Here are the steps you should follow:
1. Clean the affected area thoroughly using a mixture of bleach and water (one cup of bleach per gallon of water). Be sure to scrub away any visible traces of mold.
2. Allow the area to dry completely before painting or applying any finishes. This may take several days depending on the severity of the mold infestation.
3. Paint over the affected area with a high-quality primer followed by two coats of paint. Make sure to choose paints that are specifically designed for bathrooms or kitchens, as these areas tend to be more prone to mold growth.
4. Check for any remaining signs of mold after completing the above steps. If necessary, repeat the cleaning and painting process until all traces of mold have been removed.
Tips for Preventing Future Mold Growth
While removing mold is important, prevention is key to ensuring that it doesn’t return. Here are some tips for preventing future mold growth:
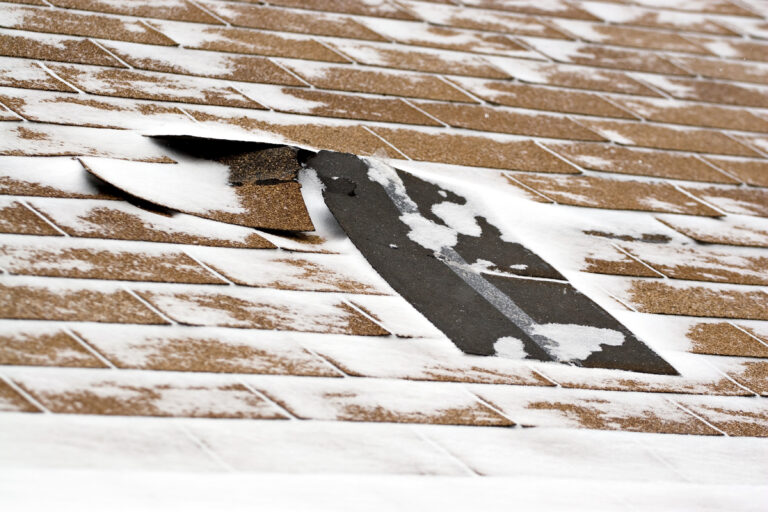
1. Fix any leaks or sources of moisture in your home as soon as possible. This includes repairing roofs, windows, pipes, and plumbing fixtures.
2. Use dehumidifiers or air conditioners to keep humidity levels low in your home. Ideally, indoor humidity should be between 30% and 50%.
3. Ventilate your attic, basement, and crawl spaces to reduce moisture buildup.
4. Regularly clean and maintain your HVAC system to ensure proper ventilation and airflow throughout your home.
Conclusion
In conclusion, removing mold from your home requires careful planning, attention to detail, and adherence to safety protocols. By following the steps outlined in this guide, you can safely and effectively eliminate mold from your property while minimizing the risk of exposure to its harmful effects. Remember, prevention is key to keeping your home free from mold growth in the long run.


