Mold Removal 101: A Step-by-Step Guide for Homeowners
Introduction to Mold Removal
If you’ve discovered mold in your home, it can be tempting to try and remove it yourself. However, before attempting any DIY mold removal, there are a few things you should know about the process. In this guide, we will cover everything from identifying signs of mold growth to preventing future infestations.
Types of Mold and their Health Effects
There are many different types of mold that can grow inside homes, each with its own unique health effects. Some common types include Aspergillus, Penicillium, Cladosporium, and Stachybotrys chartarum (also known as black mold). Exposure to these types of mold can cause symptoms such as respiratory problems, skin irritation, headaches, and more severe reactions like fever or bleeding lungs. It is essential to identify and eliminate mold growth as soon as possible to protect your family’s health.
Signs of Mold Growth in Your Home
The first step in removing mold is identifying where it is growing. Look for visible signs of mold growth on walls, ceilings, floors, or other surfaces. You may also notice a musty odor or water damage around areas where mold is present. If you suspect mold but cannot see it, look for signs of moisture or condensation which can lead to mold growth.
Preventing Mold Growth in the Future
Once you have removed the mold, it’s crucial to take steps to prevent further growth. This includes addressing any sources of moisture or humidity in your home, such as leaks or poor ventilation. Make sure to dry out wet materials within 24-48 hours to prevent mold from forming. Additionally, consider using a dehumidifier or air conditioner to maintain a relative humidity level between 30-50%.
Step-by-Step Guide for DIY Mold Removal
If you have identified mold growth and want to attempt DIY removal, follow these steps:
1. Put on personal protective equipment (PPE) including gloves, goggles, and an N95 mask.
2. Identify the source of the mold and remove any porous materials that cannot be cleaned, such as carpet or insulation.
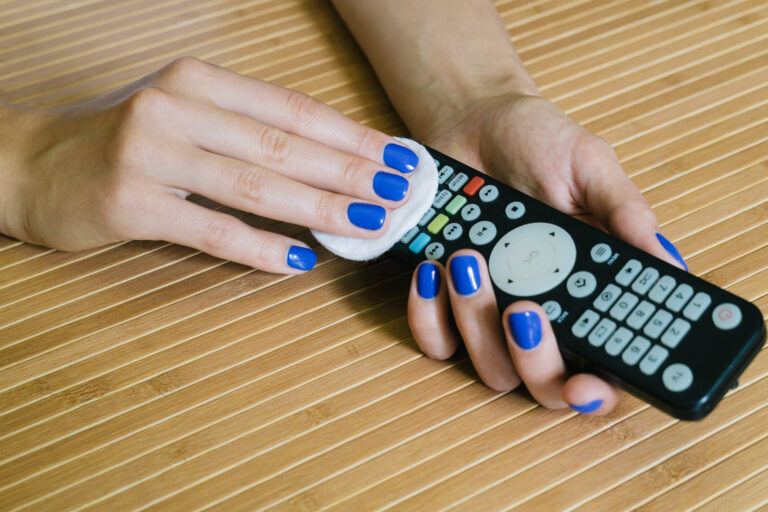
3. Use a damp cloth or sponge to wipe down hard surfaces affected by mold.
4. Mix one cup of household bleach per gallon of water to create a disinfectant solution. Apply the mixture to affected surfaces and let sit for at least 10 minutes.
5. Rinse off the bleach solution thoroughly with clear water.
6. Dry out all remaining materials completely.
Safety Tips when Removing Mold
Remember, safety should always be your top priority during mold removal. Here are some additional tips to keep in mind:
1. Never mix bleach with ammonia or other chemicals as this can produce dangerous fumes.
2. Keep children and pets away from the area while you work.
3. Ventilate the space well by opening windows or using fans.
Common Mistakes People Make When Trying to Remove Mold
One of the most significant mistakes people make when trying to remove mold themselves is not properly containing the area. This means that mold spores can spread throughout the rest of the house, leading to new infestations. Another mistake is not using appropriate PPE, which can result in exposure to mold spores and potential health risks. Finally, failing to identify and fix the underlying cause of the mold problem can lead to recurring issues over time.
When to Call a Professional Mold Remediation Company
In some cases, it may be necessary to call in a professional mold remediation company. This is particularly true if the mold growth is extensive or has caused structural damage to the building. Professionals have specialized equipment and training to safely and effectively remove mold without causing harm to occupants or further damaging the property. They can also help identify and resolve the root causes of the mold issue.
FAQs About Mold Removal
Here are answers to some frequently asked questions about mold removal:
1. How long does it take to remove mold? The length of time required depends on the extent of the mold growth and the methods used for removal. On average, DIY mold removal can take anywhere from several hours to a couple of days.
2. Can I use vinegar instead of bleach to remove mold? While vinegar can be effective against certain types of mold, bleach is generally considered the safest and most effective option. Vinegar can also cause damage to certain surfaces, so it’s best to test a small area first before applying it extensively.
3. What happens after mold removal? After completing mold removal, it’s essential to monitor the area regularly for any signs of regrowth. You may also wish to have the air quality tested to ensure that no mold spores remain. Additionally, fixing any underlying issues that contributed to the mold growth can help prevent future infestations.
Conclusion: Final Thoughts on Mold Removal
Mold removal can be a challenging task, especially if you’re dealing with extensive growth or hidden sources of moisture. By following our step-by-step guide and taking proper precautions, however, you can successfully remove mold from your home and prevent future infestations. Remember, safety should always come first, and if you’re unsure about how to proceed, don’t hesitate to contact a professional mold remediation company for assistance.

