Mold Removal Made Simple: A Step-by-Step Guide For Doing It Yourself
Introduction to Mold Removal
If you’ve ever had mold in your home, you know how frustrating it can be. Not only is it unsightly and unhealthy, but it can also cause structural damage if left untreated. Luckily, removing mold doesn’t have to be a daunting task. With the right tools and techniques, you can safely remove mold from your home yourself. In this guide, we’ll walk you through everything you need to know to successfully eliminate mold from your property.
Step-by-Step Guide for Mold Removal
1. Identify the source of moisture – Before you start cleaning up any visible signs of mold, you need to identify the source of the problem. Moisture is what fuels mold growth, so finding and addressing the root cause is essential. Check for leaks or areas where water may be accumulating, such as around windows or pipes.
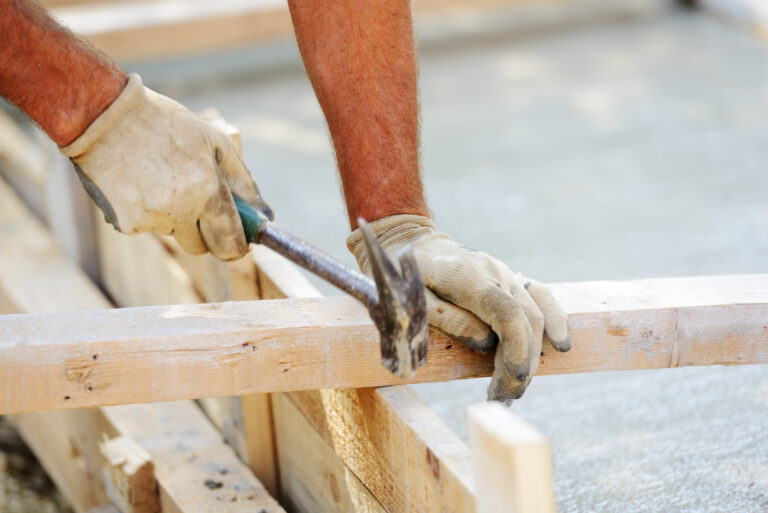
2. Protect yourself – When dealing with mold, safety should always come first. Wear gloves, goggles, and an N95 respirator mask to protect yourself from exposure. If possible, work in a well-ventilated area.
3. Remove all visible mold – Use a damp cloth or sponge to wipe away any visible traces of mold. Be sure to rinse your cloth frequently to prevent spreading the spores.
4. Clean the affected surface – Once you’ve removed all visible mold, it’s time to thoroughly clean the affected surface. Mix one cup of bleach per gallon of water and use it to scrub down the area. Make sure to let the solution sit for at least 10 minutes before rinsing off.
5. Dry out the area – After you’ve finished cleaning, make sure to dry out the affected area completely. Open windows or turn on fans to promote airflow. You may even want to rent a dehumidifier to help speed up the process.
6. Repeat as necessary – Depending on the severity of the mold infestation, you may need to repeat these steps multiple times until all signs of mold are gone.
Tips and Tricks for Successful Mold Removal
Here are some additional tips that will help ensure successful mold removal:
1. Act quickly – The longer you wait to deal with mold, the worse it will get. As soon as you notice signs of mold, take action to remediate the situation.

2. Get rid of porous materials – Any items that have been contaminated by mold should be thrown away. This includes things like carpeting, ceiling tiles, and insulation.
3. Monitor humidity levels – Keeping indoor humidity levels between 30% and 50% can go a long way in preventing future mold problems. Consider investing in a hygrometer to keep track of humidity levels in your home.
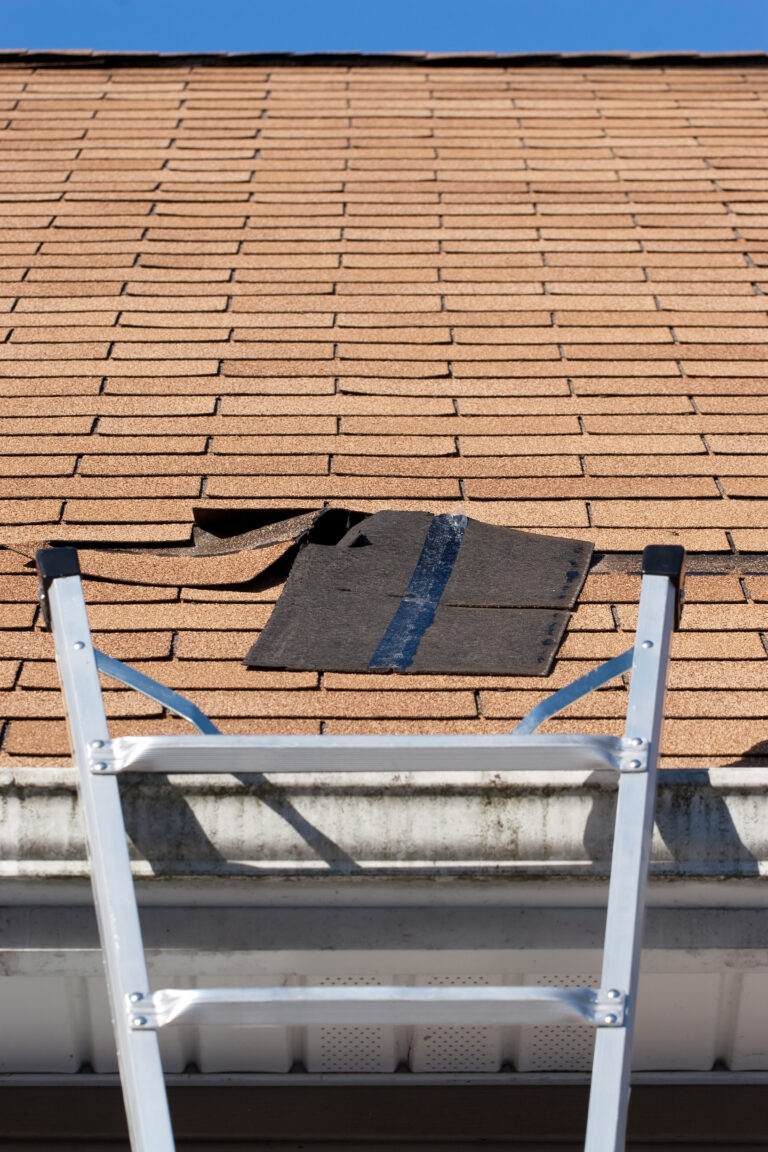
4. Fix leaky plumbing – Leaking pipes or appliances can create ideal conditions for mold growth. Address any issues with plumbing or roofing as soon as they arise.
Preventing Mold Growth in the Future
Once you’ve successfully eliminated mold from your home, it’s important to take measures to prevent its return. Here are some tips for keeping mold at bay:
1. Ventilate properly – Ensuring adequate ventilation throughout your home can help reduce moisture buildup and discourage mold growth.
2. Control humidity – Again, maintaining proper humidity levels within your home is key to preventing mold. Consider using a dehumidifier during particularly wet seasons.
3. Regularly clean surfaces – Wipe down surfaces regularly to prevent dust and dirt buildup, which can contribute to mold growth.
4. Inspect regularly – Keep an eye out for signs of mold and inspect high-risk areas (like bathrooms) regularly. If you catch mold early, it will be easier to treat and prevent further spread.